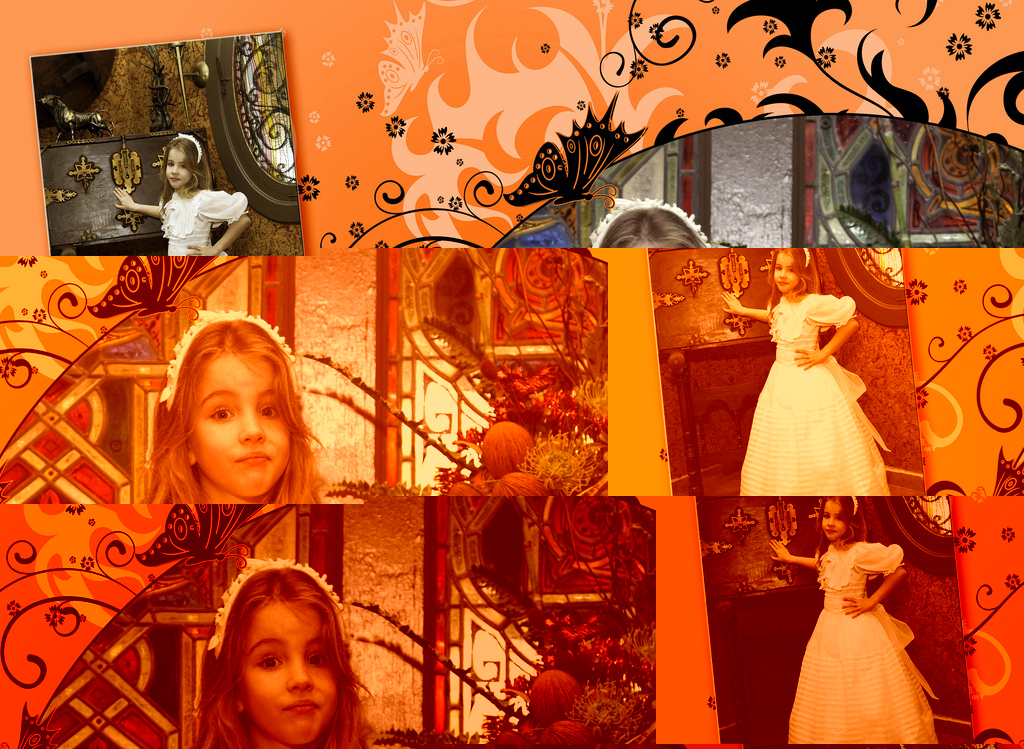
In today’s How To, we’ll write a small program in Python that searches the photo sharing site Flickr for images with a given tag, downloads them, and then glitches them out. We won’t presume you know anything about Python programming, but we also won’t cover it in much depth–the goal is for you to understand just enough about this small program to modify it to suit your purposes, even if it’s not 100% clear what’s happening at every stage.
First you’ll need to be sure you have Python installed and know how to run Python programs. We recommend the excellent Learning Python the Hard Way for a straightforward guide to getting up and running with Python on your choice of computer, available online for free. Do at least Exercise 0 in that guide to be sure you have Python installed and know how to run it.
Next, you’ll need a few modules which add extra functionality to Python: PIL (not the band) for image manipulation and BeautifulSoup to parse Flickr’s search results. We’d also recommend using easy_install or pip when adding new modules to your Python setup.
Then, fire up your text editor of choice and enter this code:
For the most part, this code should read like a description of what the program will do in plain English (plus some funky punctuation and that __name__ == ‘__main__’ thing which you can ignore for now). The first few lines tell Python to load in the modules we’ll be using to write the program. The commands “find_an_image,” “download_an_image,” and “glitch_an_image” are commands that we’ll define ourselves in just a minute. Basically, our program will find an image on Flickr that uses the tag ‘art,’ download the image, glitch the image, and finally print out the image’s filename. You can change ‘art’ to any keyword you like. We might be a little biased here, so we’re just going to leave it like that.
So let’s define the find_an_image command:
The ‘find_an_image‘ command constructs a URL that points to Flickr’s RSS feed for images tagged with a certain keyword. Then it gets a list of all the images, chooses one at random and returns it.
Now to download the image:
The ‘download_an_image‘ command just saves the file to the same folder your program is in–pretty simple. But here’s the fun part, glitch_an_image:
Again, we’re using a command here that we haven’t defined yet but will in a moment: ‘splice_a_chunk_in_a_file()‘. But first to summarize, the ‘glitch_an_image‘ command opens the original image file, reads its contents and stores them as ‘file_data‘, then does our ‘splice_a_chunk_in_a_file()‘ method on the data some random number of times between 1 and 5, and finally writes the new glitched image out to disk. So let’s define ‘splice_a_chunk_in_a_file,’ where the glitchiness happens. We’ll also define a helper method called ‘get_random_start_and_end_points_in_file.’
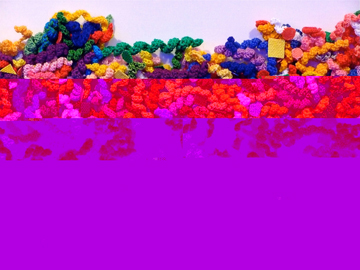
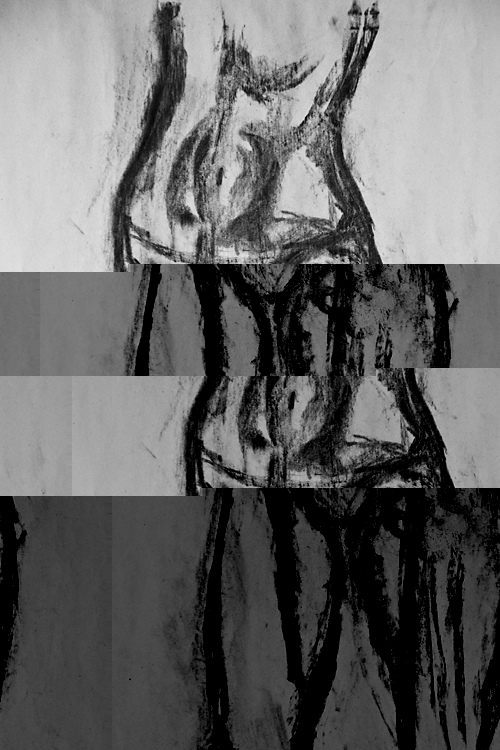
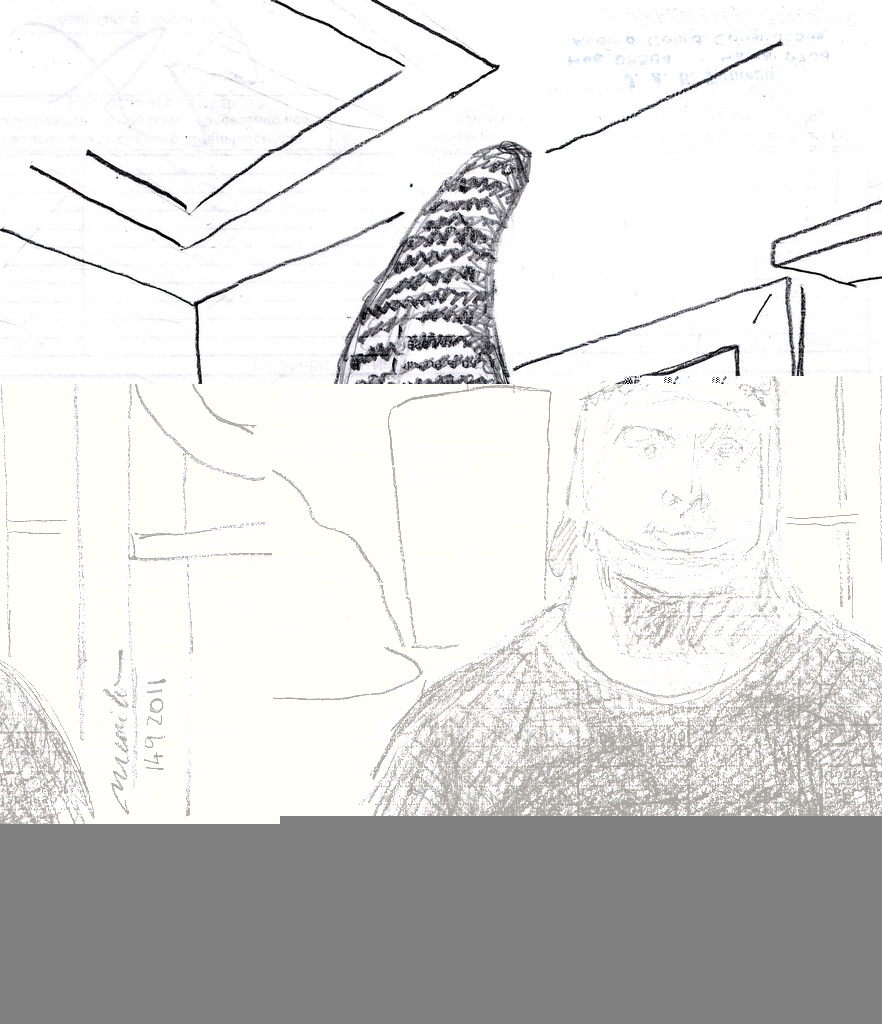
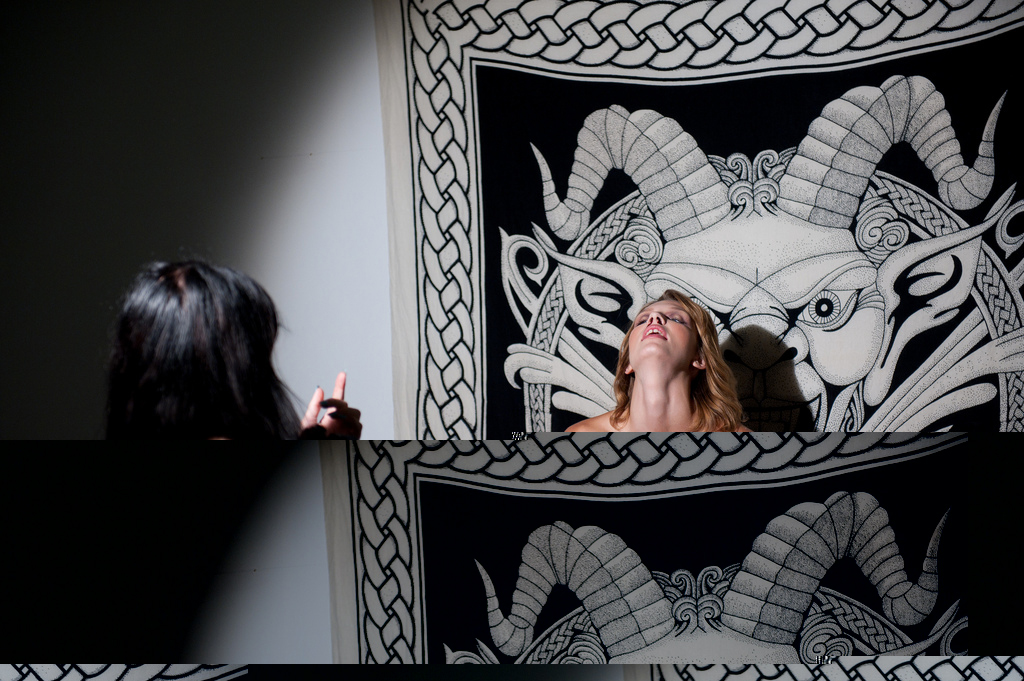
The ‘splice_a_chunk_in_a_file‘ command picks out a random chunk of the file, duplicates it several times, and then inserts that chunk at some other random position in the file. This is the digital photo equivalent of a biological virus that randomly inserts junk sequences into DNA. When your computer tries to display the image it will freak out and (if you’re lucky) show you a weird, colorful glitch.
So now you have a simple Flickr photo glitcher. Save a separate copy of the script as a backup, and then just start messing with the code! A good way to experiment is to change the hardcoded numbers. For example, in ‘get_random_start_and_end_points_in_file‘, the number ‘2500’ is used as the minimum starting point. Try changing that to something lower or higher and see what happens. You should also mess around with the numbers anywhere you see a ‘random.randint(1,5).’ The worst that will happen is that the program will crash or your image won’t be viewable, but that’s the life of a glitch artist, baby!


Guido Van Rossum, Creator of Python Programming Language.


Pingback: Create glitch in an image in Python