
1. Collect as many images of mountains as you can get. Source from Internet using Google, Corbis, etc…. Images should not contain any visible evidence of human technology or the presence of actual humans. Images should be as majestic as possible. Collect between 150-200 images.
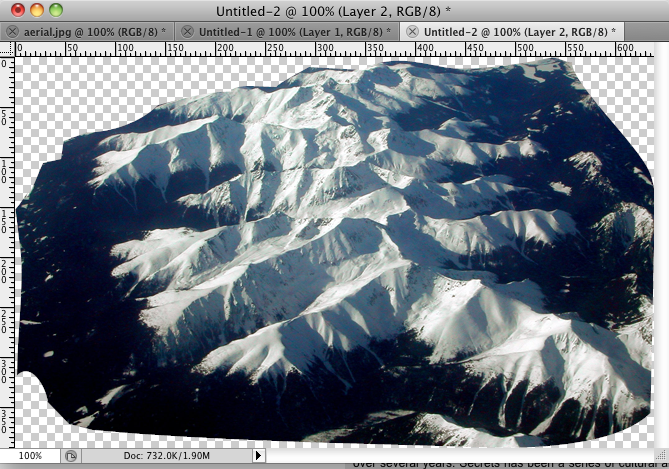
2. Bring your images into Photoshop or your preferred image editing software. Remove the sky from every image. Cut-out sky area should become transparent.

3. Resize every image to same width and resolution (height may vary).

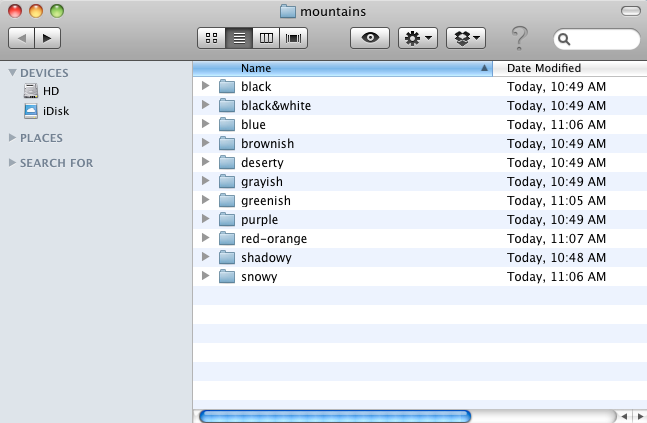
4. Separate mountains into different folders based on color.
5. Create a new Photoshop document. For the size, use the width and resolution already established in your prep work (see Step 4). Determine an average height and multiply this by your total number of images. Make a rough estimation and adjust later as needed. This document will become enormous in terms of pixel dimensions and document size but can retain a low resolution, i.e. 10” x 1200” at 72 dpi.
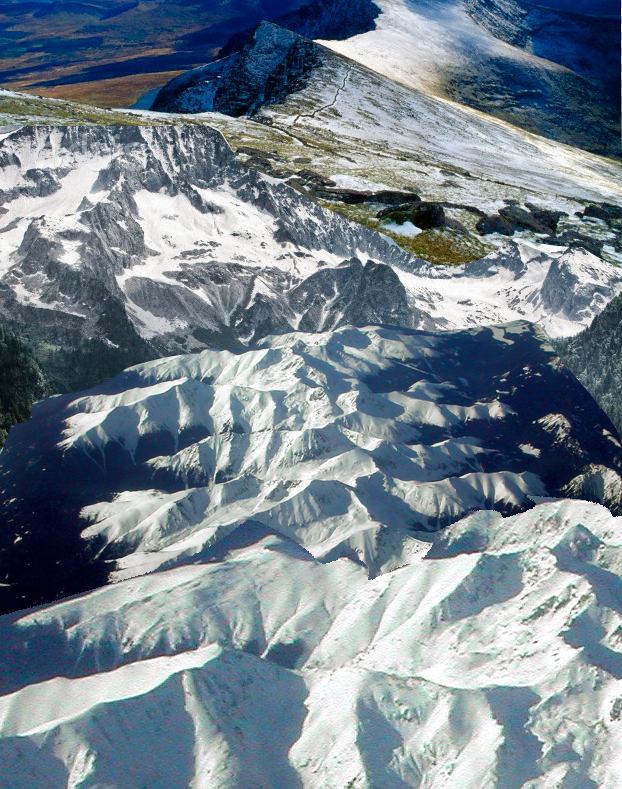
6. Begin ordering your images based on chromatic scale. Begin with grey and move to green, yellow, orange, red, pink, purple, blue and finish with white. Save often.
7. The top few images (3 or 4) and the bottom images must be exactly the same and in the same order to allow for seamless looping.
8. Clean up your images and run some final checks.

9. Save a copy as a flattened image.
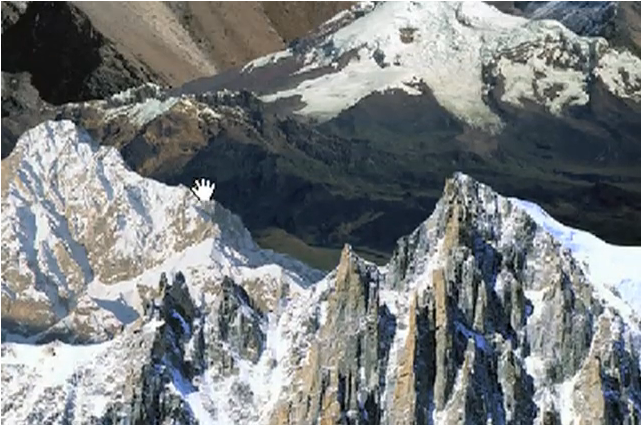
10. Open your flattened document and zoom in so that it fills more of your screen. This enlargement can be based on how large you would like the hand cursor to look in relation to the mountains.
11. Only a portion of this large document will be visible onscreen at a time. Scroll up and down the document to get a sense of its size.
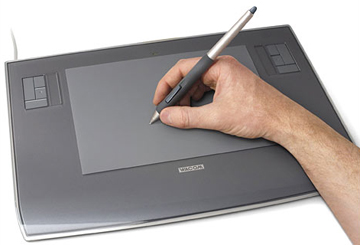
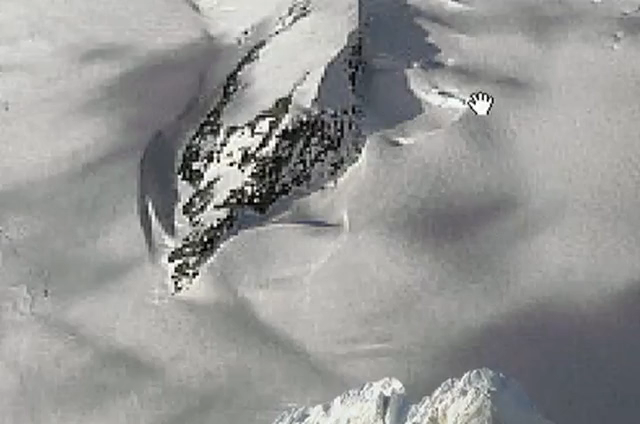
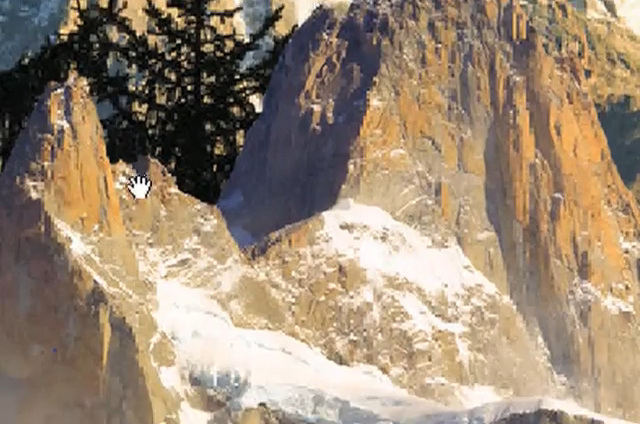
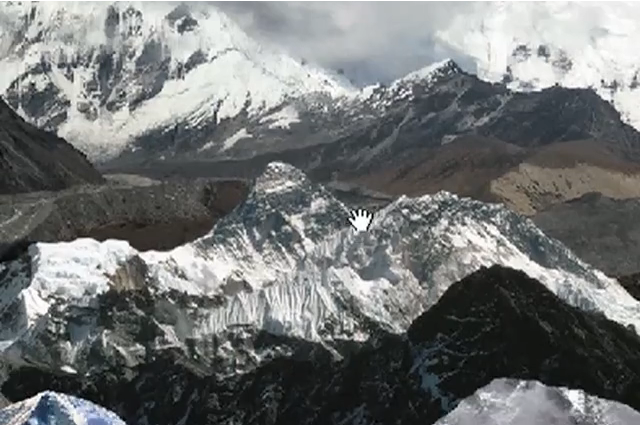
12. Open the Move tool. Practice “climbing” the mountain using the hand cursor. Place the hand on every mountain layer’s peak or ridge and drag your mouse down. A Wacom tablet and pen is recommended.
13. Determine the location of your loop. It must happen somewhere in those images that are duplicated at the top and bottom of the document.
14. In Photoshop, place the Move tool on a strategically located position in your looping location. Take a screenshot.
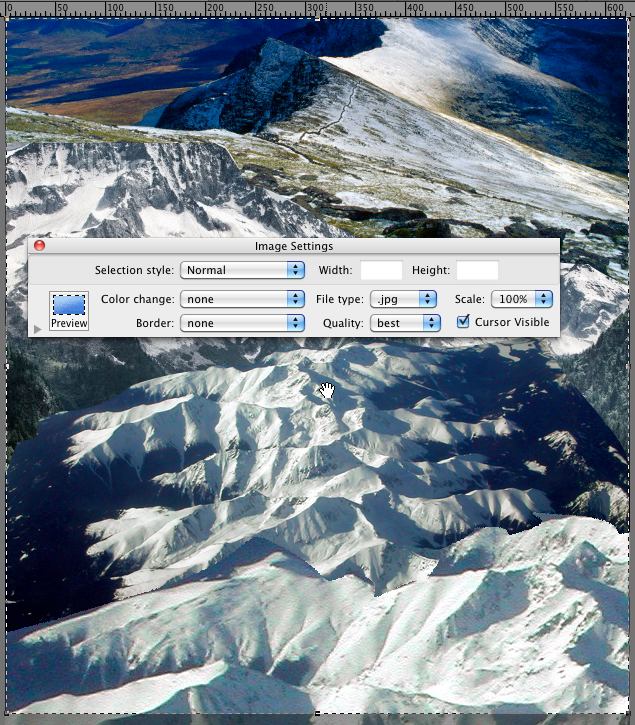
15. Open this screenshot and have it within view. You will use this to locate a stopping point once you have begun recording.
16. Open whatever screen capture software you have access to. Snapz Pro works well.
17. Within the program, select video capture and define the portion of the screen you wish to record. This size will depend on how you wish to display the piece later, i.e. 960×1280 for a monitor mounted vertically.
18. Stand up. Stretch. Put a “Do not disturb” sign on the studio door. Start climbing.


Pingback: Climbing by Jesse McLean | DINCA