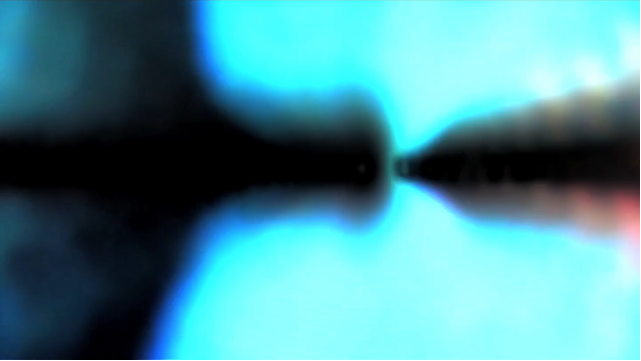
Video feedback. It’s a phenomenon as old as the medium of video itself. In fact, it might even be considered an inherent attribute. The infinite tunnel of psychedelic light-forms that make up a feedback pattern can have a powerful effect on any viewer and has the benefit of coming pre-loaded with all sorts of “meta” connotations; making it particularly effective at aiding your exploration into ideas about perception, phenomenology, image-making, or even the medium mediating itself.
In this tutorial, we’ll show you how to harness the creative potential of the video feedback loop by combining abstract, hypnotic visual patterns with the semiotic specificity of language to create formally unique videos/concrete poems/screen-savers.
What you’ll need: video camera (with an A/V output), tripod, television or monitor with a line-in, appropriate video cable, text printed out on transparency sheet (make a trip to your neighborhood Kinko’s FedEx copy shop), and basic knowledge of video editing software (or a friend who has it).
PRE–PRODUCTION
Get your hands on a decent video camera – cheaper photo/video hybrids and cell phones won’t work here because the camera needs to have a line-out with a live signal to create feedback. Also, the more control you have over things like zoom, focus, and exposure, the more you can manipulate the images you’re creating.

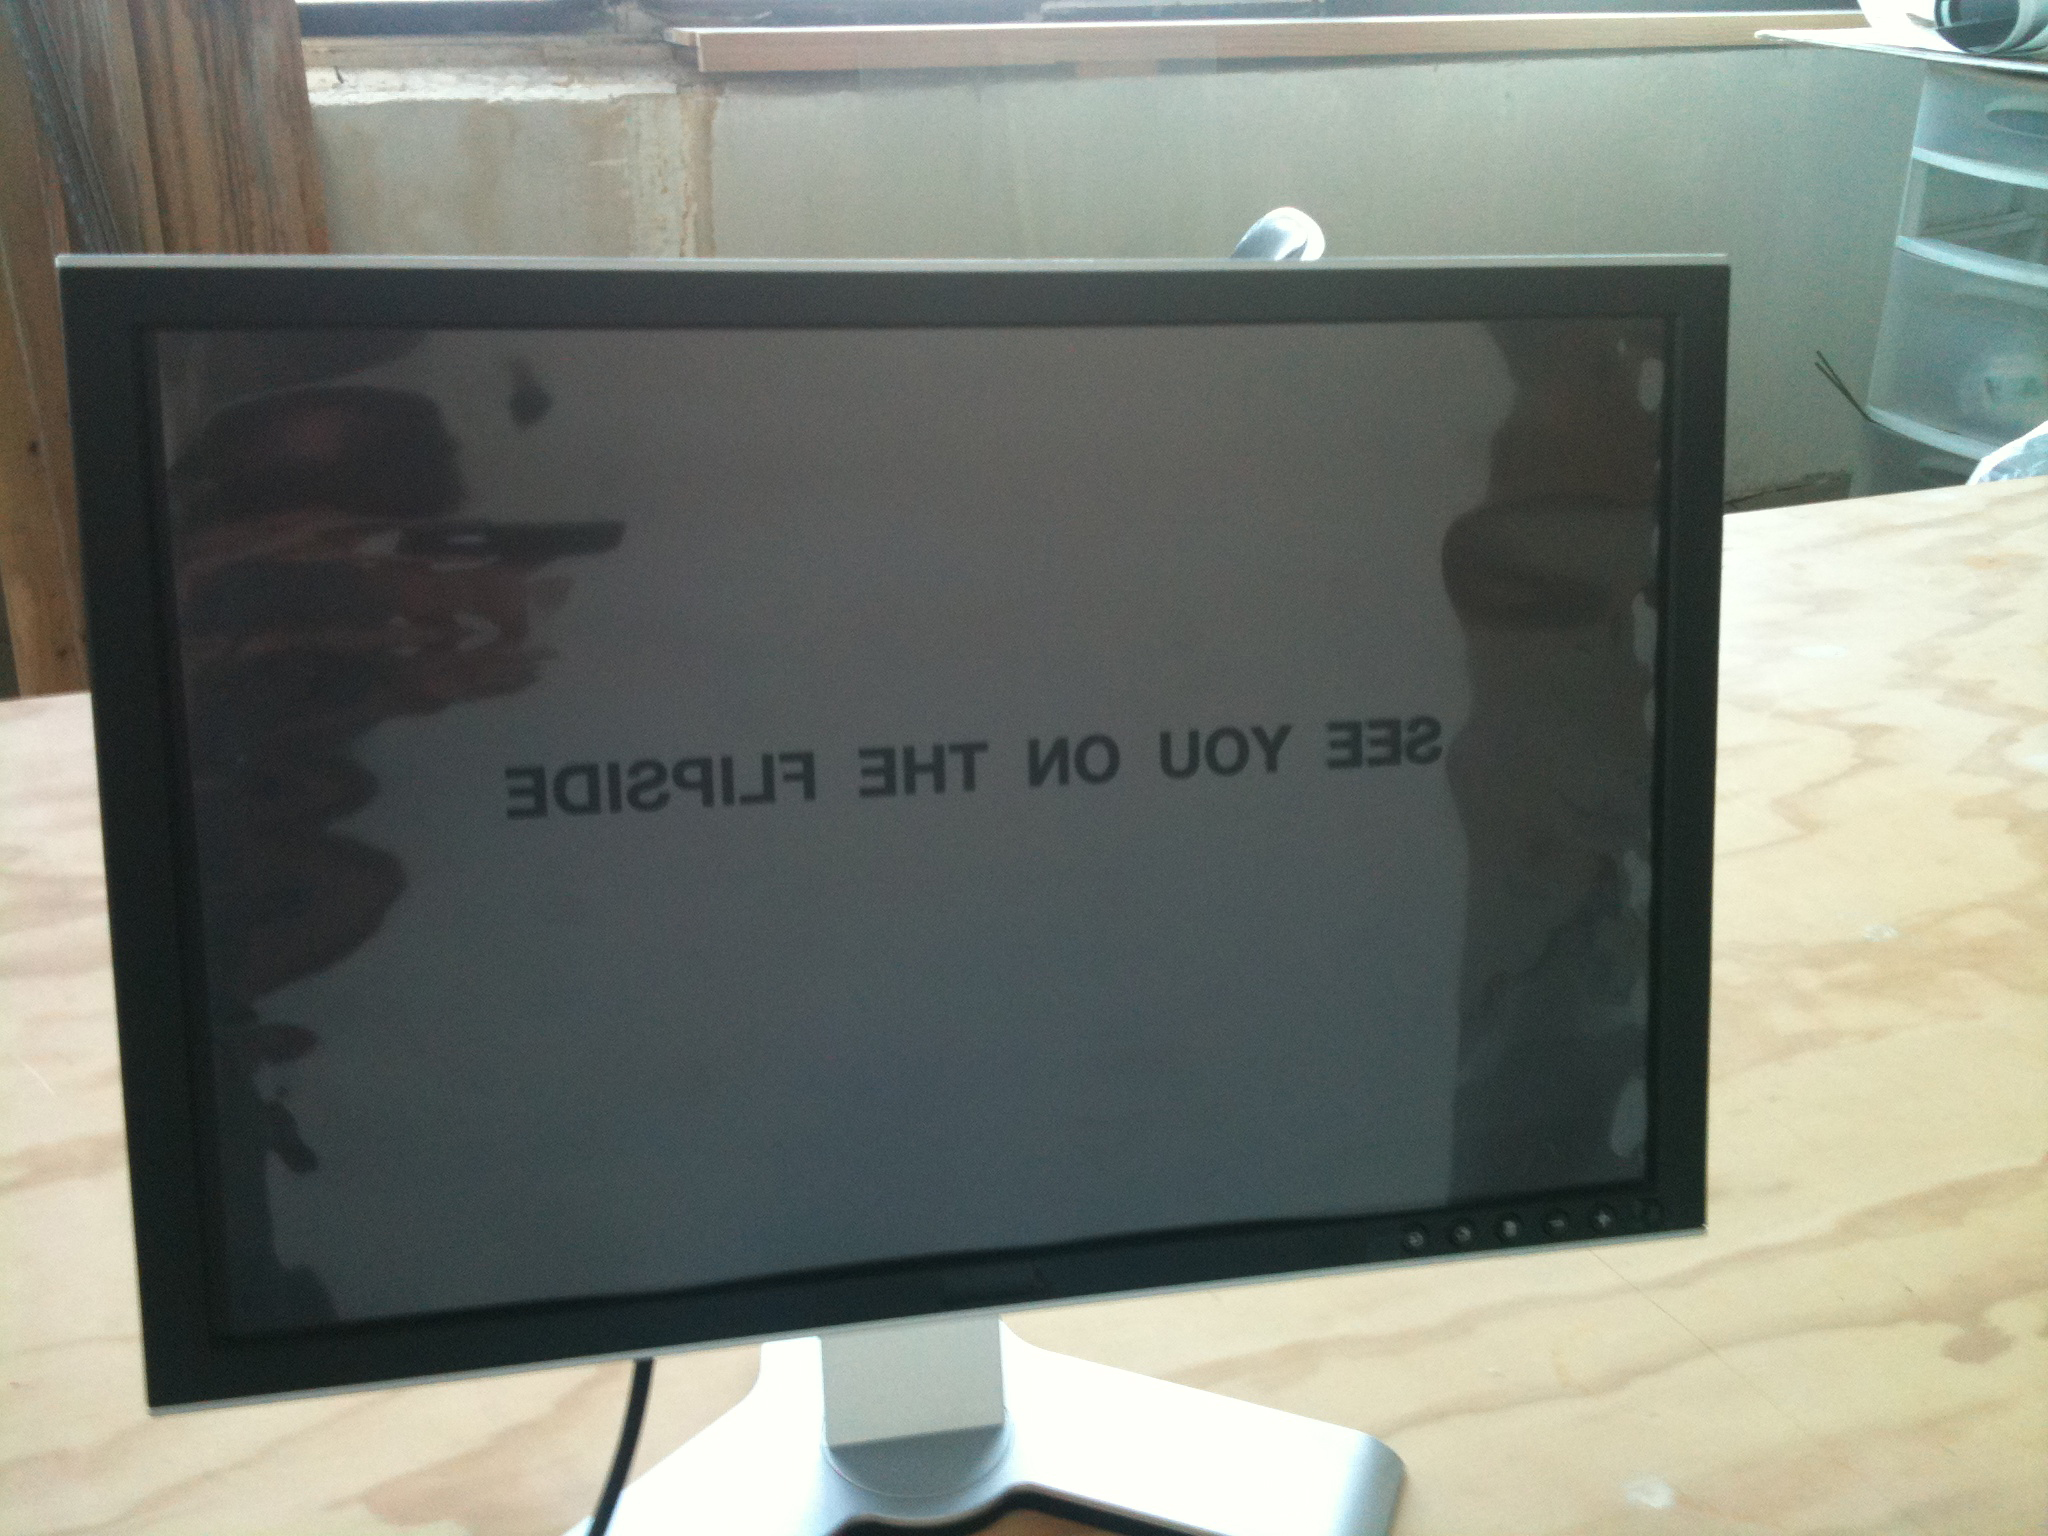
When choosing your television or monitor, consider the aesthetic implications of your decision; plasma, LCD and CRT monitors each use different technologies and will each respond in a unique way. In terms of size, avoid extremes. Since you’ll be adding another layer to the screen with a transparency, you might try to match the size of the monitor with your printout.
For example, our LCD computer monitor happened to accommodate 11” x 17” printouts perfectly. Because of this, we didn’t have to use tape to affix the sheet, so there were no visible edges, which made it easier to create a seamless image.
Select some text that you want to insert into your infinite feedback loop. You can write something original, use a favorite quote, create a neologism, or chose your favorite emoticons. You might think of this as the visual equivalent of yelling “echo” in a cave.
![]()
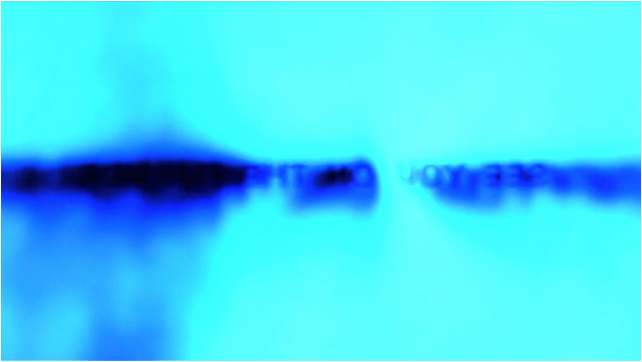
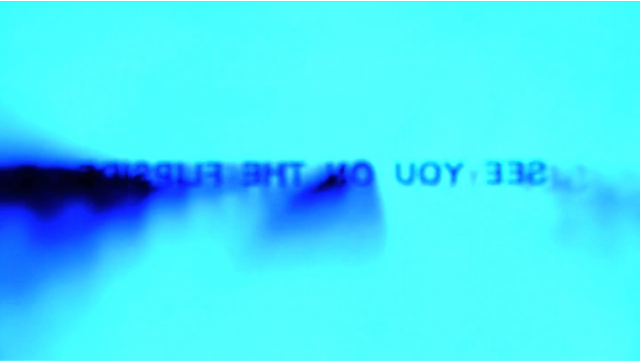
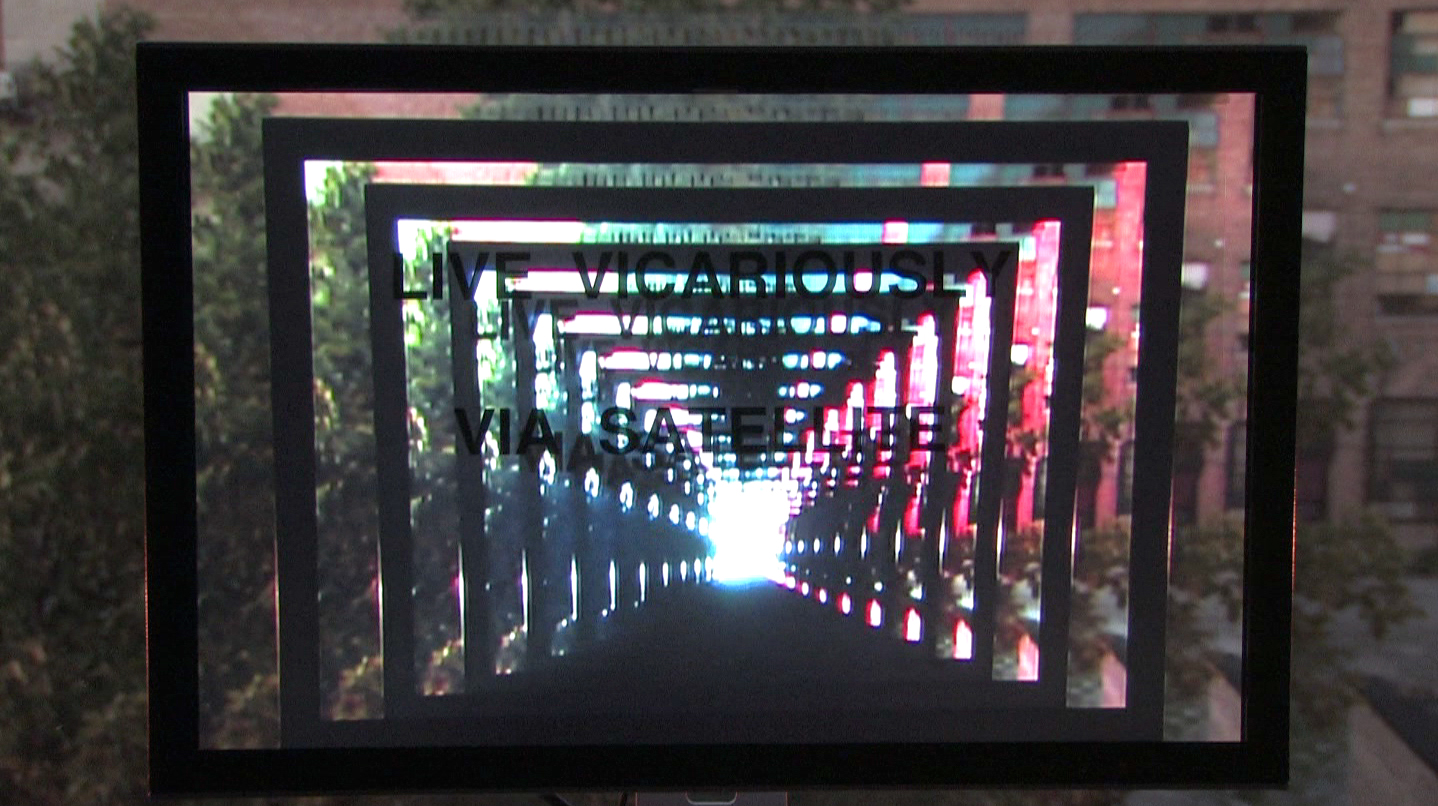
It is important to keep in mind that the text will only be legible when the colors and shapes of the video feedback appear on screen. Their pulsing silhouettes will emerge out of the darkness, momentarily, before descending into the screen’s deep void.
Orient your text horizontally, floating in the center with a couple of inches on each side so you can play with the feedback emanating from the letterforms. Tip: avoid long sentences and use BOLD ALL CAPS so that the text can be easily read.
You can always forgo including text and create straight feedback instead, or choose something else in lieu of words (drawings, hand puppets) to augment the traditional feedback effects. Really though, it’s all about what you put between the camera and the monitor.
PRODUCTION
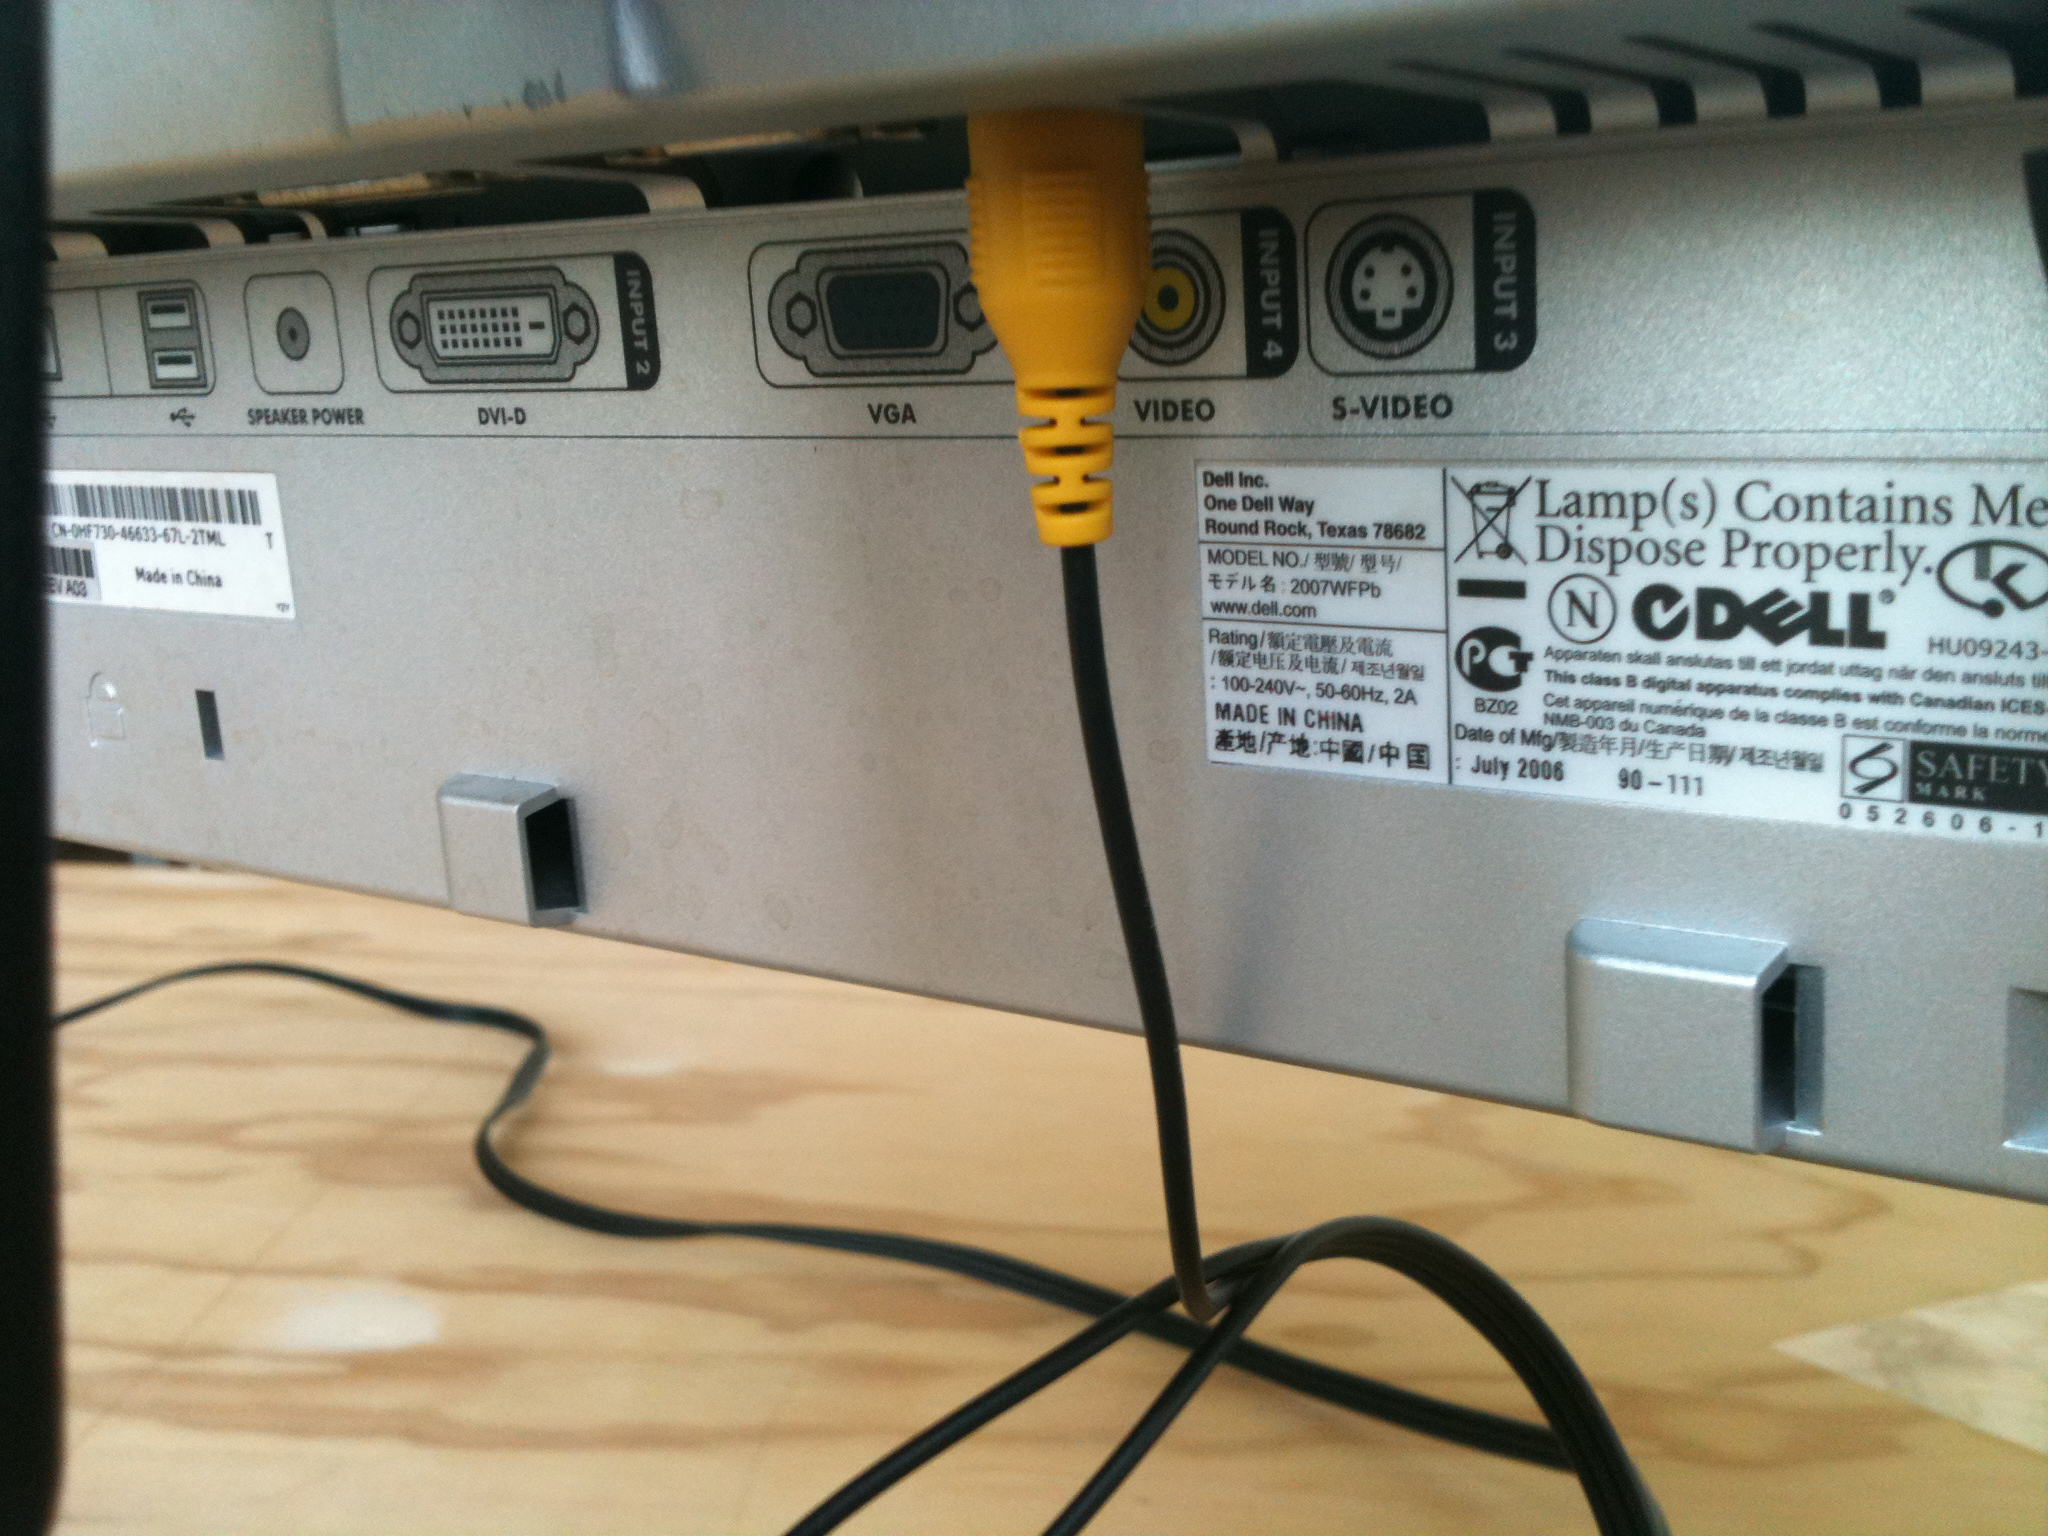
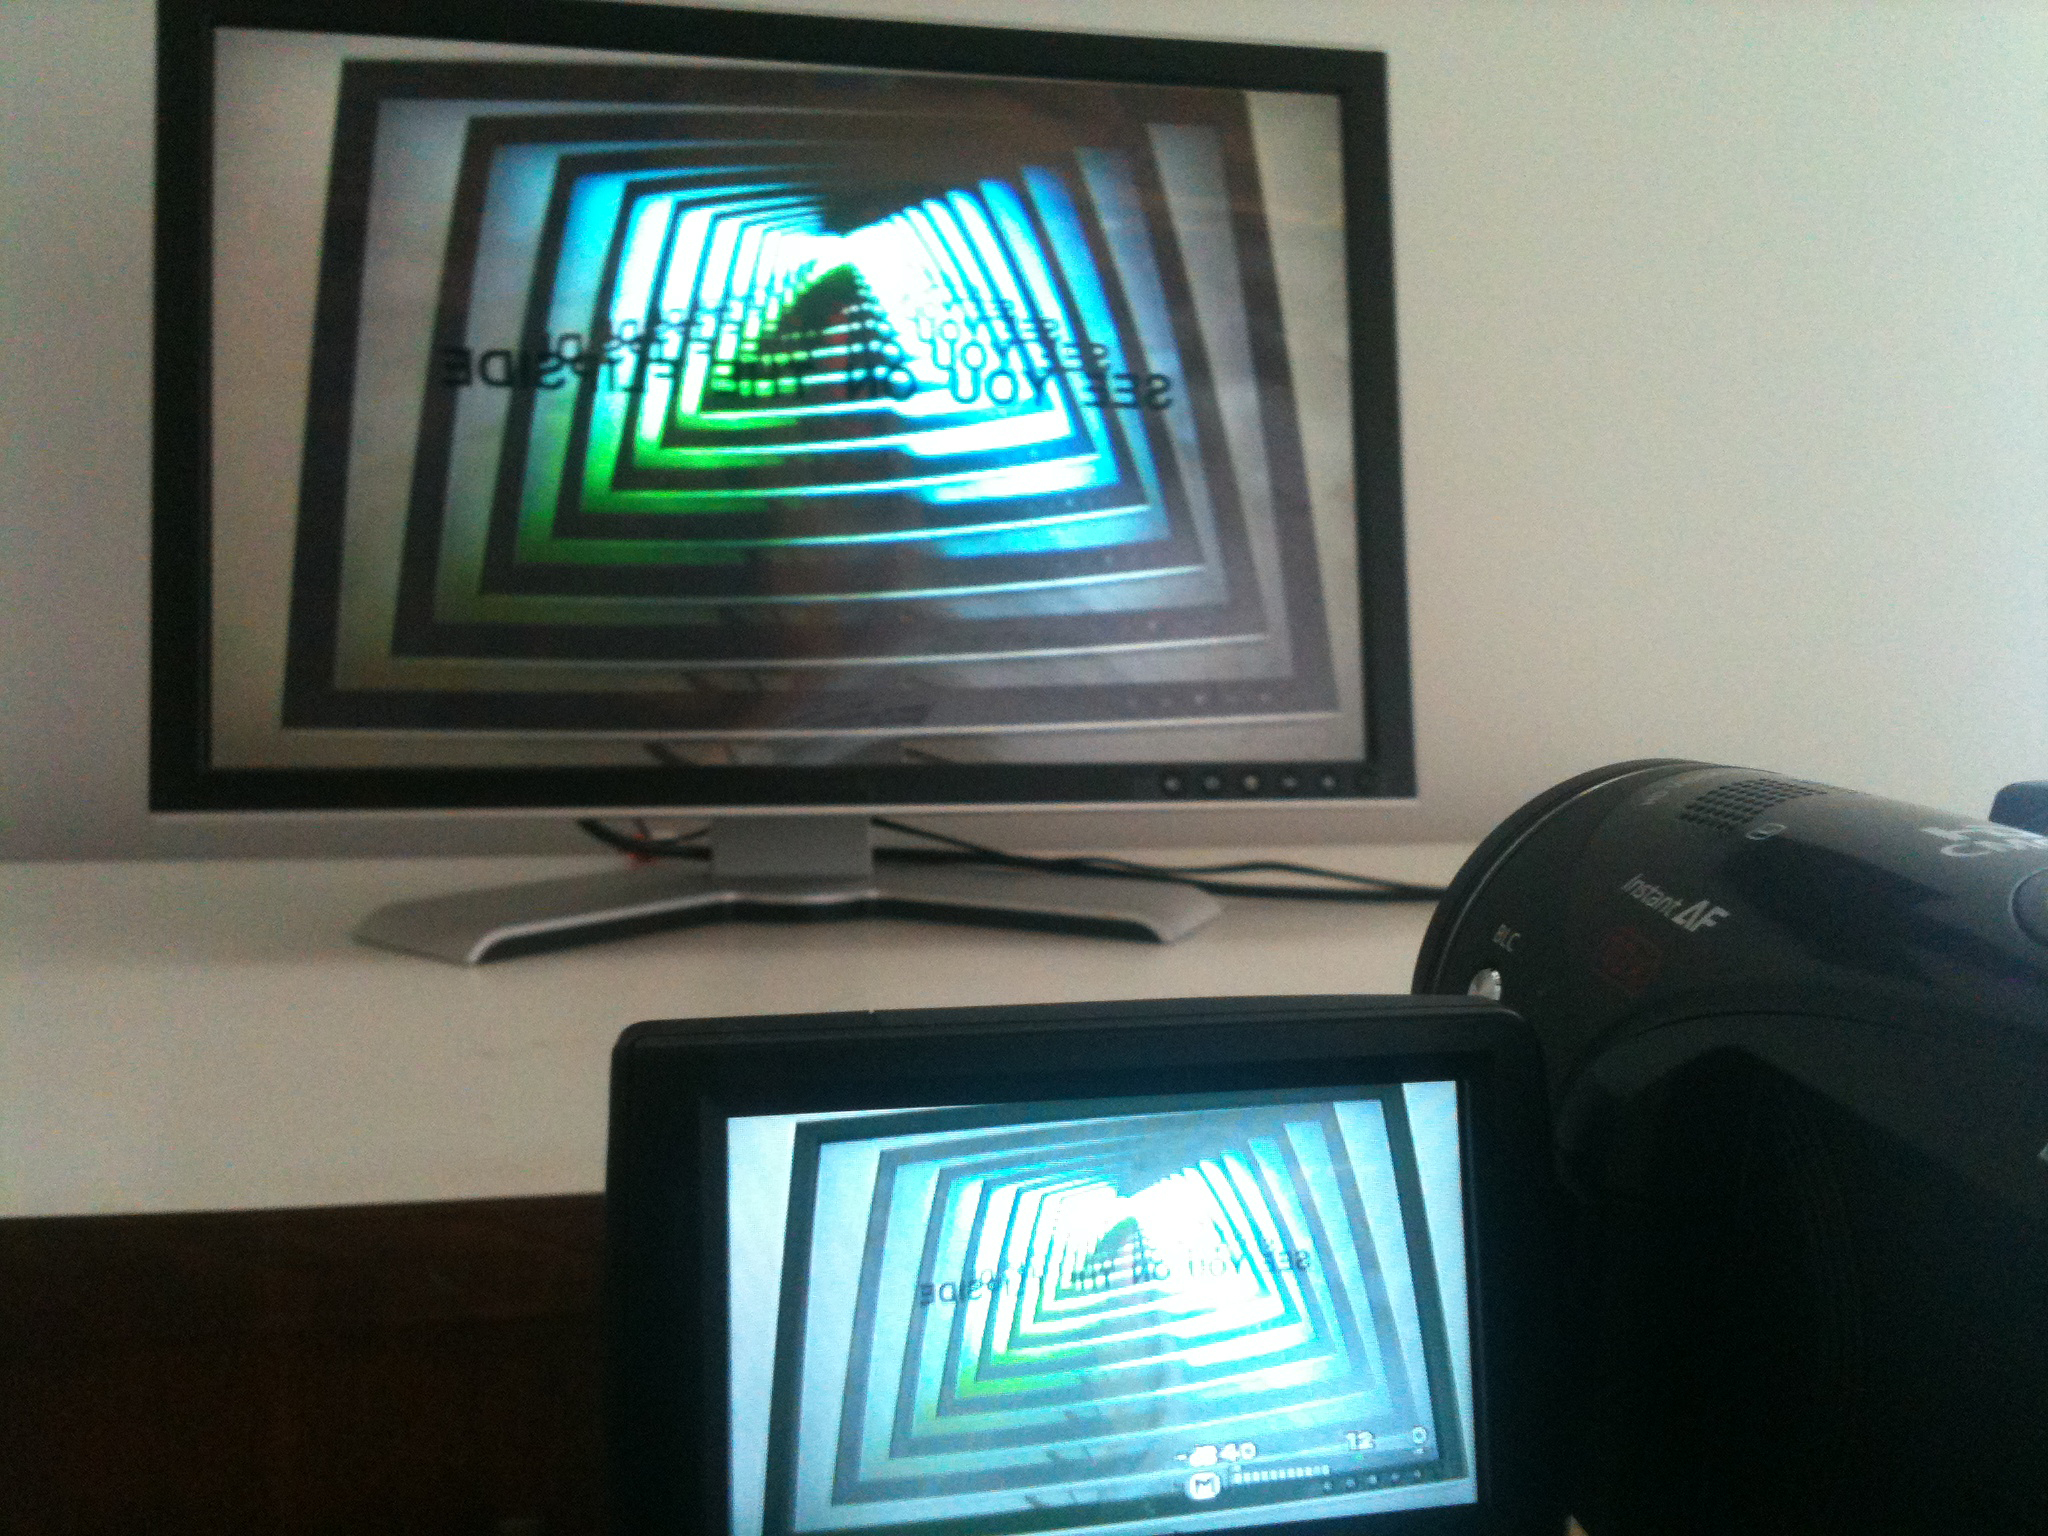
Set up your camera on a tripod, point it directly at the monitor, and connect a video cable from the camera’s output to the monitor’s input. Camera and monitor should be about 5’ apart, but this is where trial and error will help you determine an ideal distance based on personal preference.
To avoid any glare off the screen, try to set everything up in a darkish space – although it is important to have some illumination or color around the monitor in order for your camera to capture the video and feed it to the monitor, which is then fed back into the camera’s lens, and then back to the monitor, and then back into the camera…this is where it gets interesting. Use the space behind your monitor in creative ways to add unexpected awesomeness.
Experiment with the camera settings, such as shutter speed and exposure, to see how the feedback loop reacts. Take a minute to figure out which settings and movements create your favorite effects.
Using smooth and subtle motions, move the camera around the screen space to see how the images react. Keep the tripod in place and avoid jerkiness. After a few minutes you’ll start to feel comfortable and eventually become immersed in the visual symphony you’re conducting.
Make a loose score of which techniques you want to use and in what order. If you plan carefully you won’t have to do very much editing, making your post-production life that much easier. Start recording and begin your performance.
POST–PRODUCTION
You probably recorded lots of swirling, pulsating, flickering footage. It’s standard practice with video to shoot more than you need because tape is so cheap (if you’re still using tape.) Review your footage, select the best parts, and import those into your computer.
Even if your performance was flawless while shooting, you’ll want to “clean up” your clips. Consider fading in and out of each section for smooth transitions. If you shot more than one set of text or tried different effects, you’ll want to create a playback sequence for these. Think about how long each section should stay on-screen and in what order they should appear. Do you want to add a soundtrack?
Compile your cleaned-up clips and combine them to form a single video.
The final step is to decide what way(s) you want to display your video. Use the necessary software and proceed accordingly.
For computer screens, you can download free software to convert H.264 video files into screen saver files for either Mac or PC. We like iScreensaver, which is a free, user-friendly application.
For television screens, you can use the DVD player you already have connected. These days DVD authoring software is easy to access and easy to use. Most even let you seamlessly loop your video for continuous playback – so your infinite loop can continue infinitely (or until you turn off the power). Now run your loop, step back, contemplate.